This Monster just arrived from Revolution Trains – it is their O Gauge Limited Edition Class 37/4 from Heljan. I still need to detail and weather it, but very happy.


This Monster just arrived from Revolution Trains – it is their O Gauge Limited Edition Class 37/4 from Heljan. I still need to detail and weather it, but very happy.


This is the first time I have been asked to weather a Loco to 8-9 out of 10 level. I was supplied with photographs to work to and that I should really ‘go for it’. Well this is the result of my work over a two day period, checking the photos as I progressed. I must admit it makes a change from doing light and medium weathering, but there are a lot of areas that need care, especially drying times before second and third coats of paint. The effect on the body sides was created by wiping with a cotton cloth slowly after the last coat was applied.


Here we have two completely different wagon types. The first one is the ZXV that Graham made and I painted and weathered, I have put pre-weathered photos on a previous post. The second is an out of the box Heljan OAA, this has been detailed by adding the provided chains and a representation of a replacement plank on the center drop side door.


Here we have a quite rare wagon from the 80’s. It was made from a converted kit by Graham and painted by myself. The paint used was Railmatch ‘faded’ rail red, that will be incorporated into a fully weathered wagon after varnishing.
This will run on Morlock Heath when we are allowed out again.


I have now painted and weathered Grahams first tests on his new 3D printer. All went well, but we did recognize that an undercoat especially for 3D printing use would have improved the finish. We have now ordered some of this product.
Overall I am very optimistic and look forward to further projects.


We have now got 3D printing capabilities within our group after Graham purchased a printer for his birthday. These are early days but its potential looks great for our future bits and pieces, or more.
I must admit after seeing some early 3D printing some 10-15 years ago I was not that impressed, but this new machine is a different world, it is fantastic!
Graham is doing this development in a steady and careful way and I will paint and weather his prototypes as they are produced.
All the below items are O Gauge and unpainted.


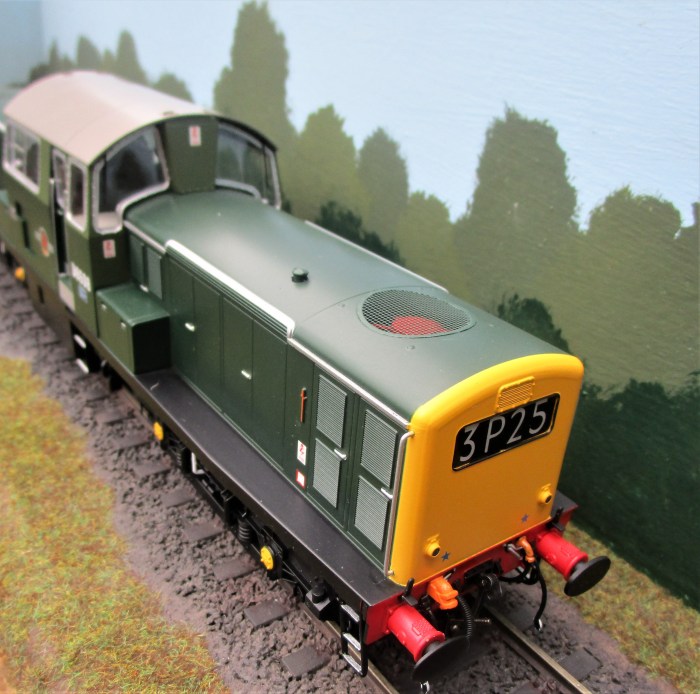
This is my second and final Heljan Class 17, and I must say again, this is a great model and one of Heljans best ever. Again the packaging was much better than previous models, especially the ill fated Class 31 second runs.
I have numbered the Loco D8503, one of the first built. I can not trace a photo of this Loco with ploughs, so will not be fitted.


After being delayed because of the bad weather, it has now arrived. The packaging was much better than normal and the Loco arrived in great condition, in fact not a single item was lose or missing – almost a first for me!
After arrival I started to research the Class for a suitable candidate for my livery, Green with Full Warning Panel. My choice was D8608, one of the last into service, it was also a member of the Class that was fitted with Snowploughs, although I have yet to fit them.
It runs very well and the model itself looks excellent and with great heritage from the OO model.


While looking through various suppliers of O Gauge wagons, I noticed that Ellis Clark had updated a number of the Darstead Well Wagons. It was a run of about 10 wagons that had been repainted and lettered, had been re-wheeled using Peco items and had the floor replaced with an Intentio laser cut offering.
My first reaction was, ‘that will weather well’, followed by placing an order straight away. On arrival, my first thought was what a great wagon and it was a lovely revamp of the original Darstead product.
The first thing I did was to darken the wooden inserts with Coloron Wood Dye, giving it three coats. When dry I did my usual wash and wipe before using the airbrush to complete the main weathering. I then touched up the bogie springs and the chain loops with a touch of dark rust.


As the layout is almost finished apart from a little more blending and weathering, I thought some test shunting to prove the layout would be good. I used DY1 Dock Shunter D2950 as the first Loco to run on the new layout. I am using Spratt & Winkle 4mm couplings, not 7mm, see photos. Note how I use the original coupling hook as a ‘stop’ for the ‘Spratts’.


