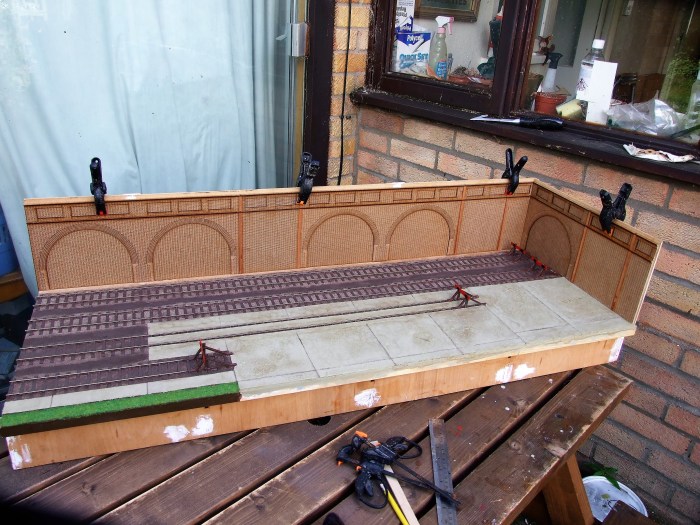
I started to ballast Ashwell yesterday – not one of my favourite jobs, but a job that can make or break a layout.
As this is a depot layout I used a mixture of OO gauge and N gauge Ballast with a little sand. This Fuelling Point, in theory it sees a lot of traffic and it is now over 30 years since BR decided it needed a FP in the area. In all likelihood the depot never received new ballast in the first place – probably recycled was used when built. Over the years the ballast has naturally broken down under heavy foot fall, weather, fuel and oil.
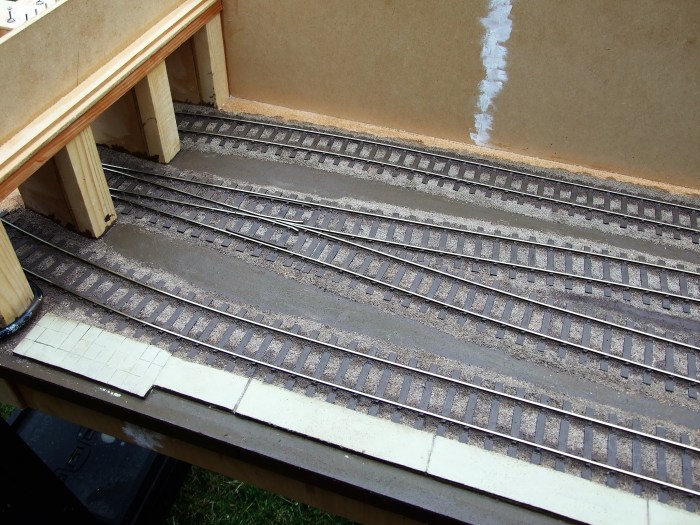
The ballast is positioned as required, it is then wetted using a garden spray mister – I then used a large ‘eye dropper’ to add a 50-50 mix of PVA and water. Take care not to get any mix anywhere near points – I always do these separately with higher viscosity 75-25 mix – it runs less and I feel more in control of where it goes. Don’t forget the drip of washing up liquid to break the surface tension of the mix.
Starting


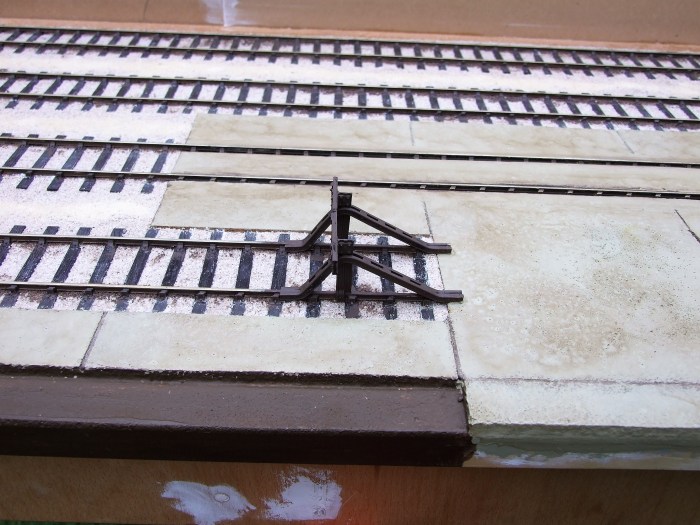
Finishing
Although very boring, I spend a lot of time cleaning up the ballasting when dry. I use a blunt old scalpel and clean all sleepers and rails of little pieces of ballast that ‘try to defy the laws of gravity’. This is very important on the inside of the track so that the wheels have a ‘clean run’ without any bumps or humps. Note:- Eye protection used – don’t forget!


And the moral of the story —- take your time!!!!
Like this:
Like Loading...