Here are the first four of the Heljan Class 31’s that have been numbered and had extra detailing added. I have used HMRS and Railtec transfers and the etches are from Proto Neo. All Locos are based on 88-92 Era. Sadly weathering is a way off at present. Batch 2 to follow.
Yet another busy day on the layout. First job today was to chamfer all the cork edging on the outside of the tracks, very happy with the result, well worth the effort.
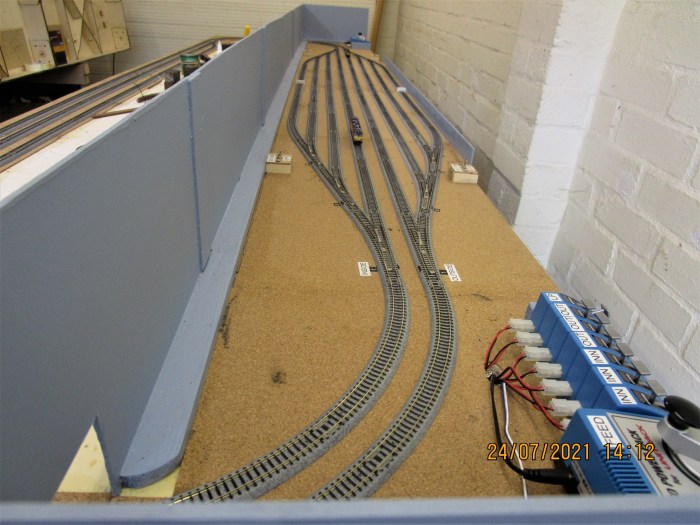
I have sketched out various embankments around the layout and today I started to form the outside MDF boundary. The below photos show the work done so far on the first board.
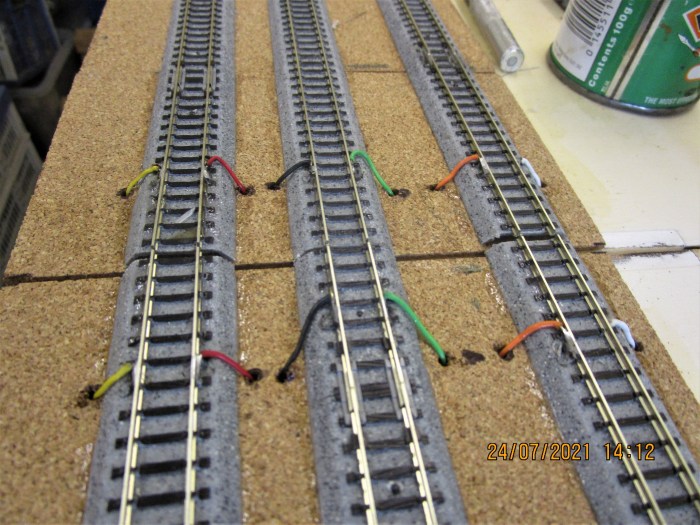
I am posting every move I make with the Kato track as it may be useful to others. Today I am preparing the track on the scenic sections for ballasting or should it be ballasting between the tracks and on the edges. I have purchased two packets of compatible Kato ballast to use, but at £7 a pack for such a small amount I decided to put a further layer of cork in all places that will be ballasted later to save on the amount of ballast needed. The below photographs show how I cut the cork to size, glued it and temporarily pinned it down, the pins are Peco and all are salvageable.
I intend to do a small section to see what is the best way to glue the Kato ballast down. I will use sandpaper to make a chamfer on all the cork on the edge of the track, this should help the finished appearance. You will note that I have started to disguise the wiring for the board joins.
I have now finished all the wiring on the layout. All track is now pinned and glued, I have tested all options and the whole layout runs extremely well.
I really hope I can disguise the KATO oddities on the scenic sections.
As John is on holiday next week, I hope to do some renumbering and weathering in 16mm, 7mm and 4mm, quite a change from my last few weeks.
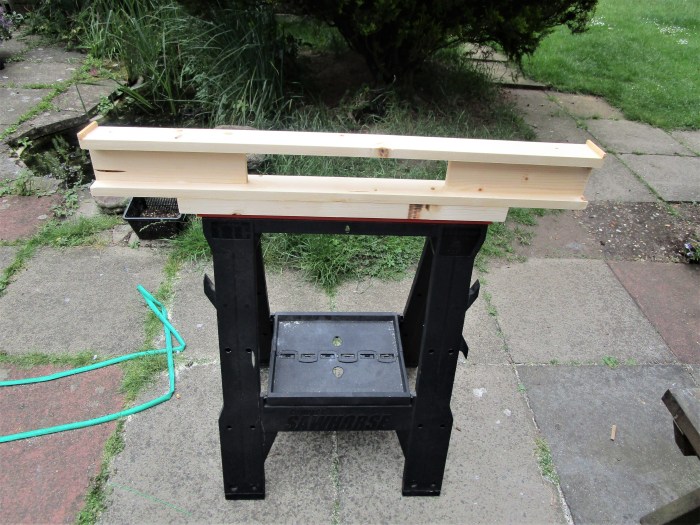
When you have two foot trestles and your latest project has a three foot width – what do you do? Well, I did not want to purchase new trestles and felt I needed to utilize the smaller ones somehow!
The below photos show how I made extensions for the two foot trestles to bring them up to three foot. I also took the opportunity to add extra height to the trestles to make a better viewing height for the layout. I use Black and Decker trestles (sawhorses), but I am sure this system could be used on other makes.
The materials for the extensions cost £50 and I made four trestle tops/extensions, that’s £12.50 each, a lot cheaper than buying four three foot trestles, if they are available.
Graham and John had a great day at the Show yesterday. The limitations of crowds was more than made up for by the interest in the layout with possible further Exhibition invites and even a possible Magazine appearance.
I have just managed to finish painting the latest SM32 stock for the Garden Railway Show tomorrow. Although they are painted, I will not have time to varnish or weather them, but at least they will be there.
This morning Graham, John and myself put 4000 Yards – Area 5 up in the garden for a final run and check before its appearance at this Saturdays Show.
As well as checking everything out and a general clean, we also added two more trees and added some Shells and Boxes to a wagon. We also checked out the latest traction for the layout, a simplex open frame unit that Graham has 3D printed and assembled himself, my task is to now get it painted in 2 days!!! fingers crossed.
After making the two 1200 x 900 boards, it was decided to enlarge the layout and two more boards 900 x 400 were ordered. I knew the lead time for these boards was about six weeks when I ordered them, but I had little choice so I waited.
These boards turned up Tuesday and I made them straight away. Over the last two days I have added the new boards to the originals and each of the two boards now measures 1600 x 900. This makes the overall layout 3200 x 900.
The boards all went together really well. I doweled between the original boards and the extra boards to ensure they were very strong.
Graham has been busy with his 3D printer doing Wagons and Loads for his SM32 Layout ‘Area 5 – 4000 Yards’., The items have now come to me for painting and weathering, this needs to be done in readiness for the Garden Railway Show at Peterborough late June.