Today I stained the ballast on both baseboards of the scenic sections of the OO layout. I used a 50-50 mix of Humbrol Dark Earth and Dark Rust, diluting the paint mixture 40% paint and 60% thinners. I then used a large bristle brush and dabbed the mixture on, while doing this I added a little neat Matt Black to the places that Loco’s are likely to stand at signals.
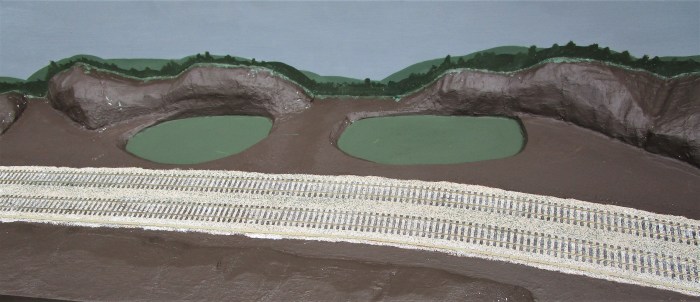
I have included one photo of what the ballast looked like before I started, so that a comparison can be taken.
After staining I cleaned the MAS trunking.
Before
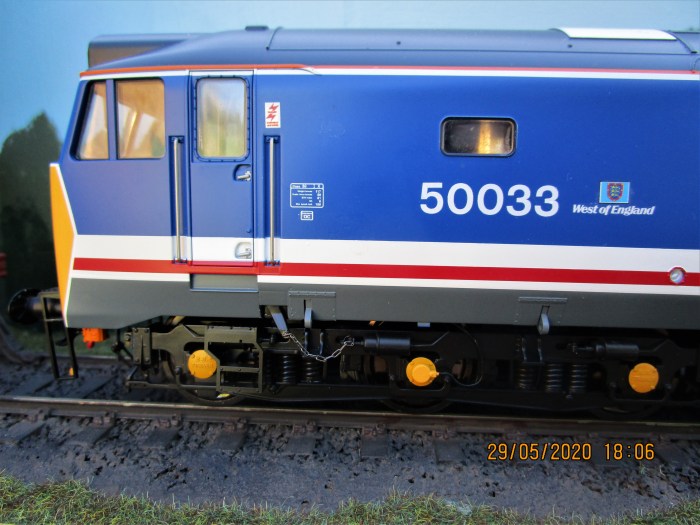
After


By the way ———- I used Dapol ‘N’ Gauge Ballast!!!!!!!!